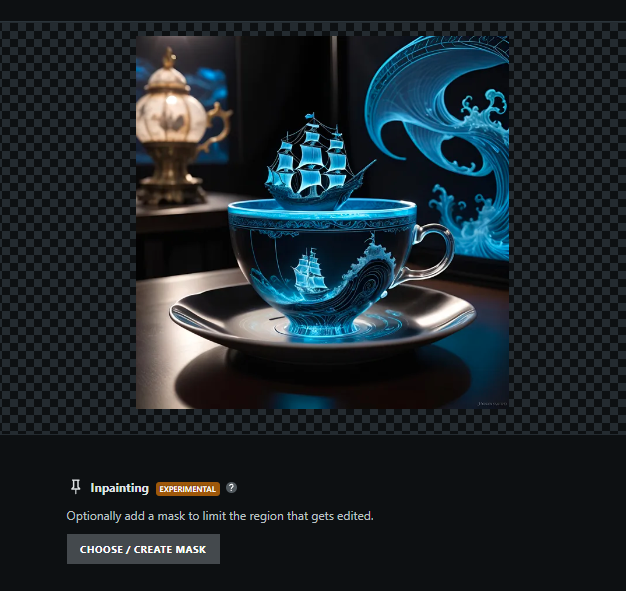
Inpainting on NightCafe
What is Inpainting in AI Image Generation?
Inpainting is a technique of changing an image that involves filling in the missing or undesired parts of the image, or removing the undesired object to create an image that meets the creator’s wants and needs. This is accomplished by using a simple interface to paint a “mask” that tells the algorithm what parts of the image you want changed using text prompts.
Examples of inpainting include, but are not limited to:
- Minor alterations to fix images (removing additional limbs, unwanted objects)
- Changing/Removing a border or frame
- Removing text
What Inpainting can’t do easily:
- Change the color or style of an image
- Add specific, coherent text (this has the same limitations as other generations)
Other Constraints to think about for inpainting:
- Inpainting will use Stable Diffusion 1.5 and SDXL 1.0 checkpoints. You can create an image with a non-Stable Diffusion checkpoint/algorithm, but you would need to switch checkpoints before having the available options.
How to use Inpainting on NightCafe
Inpainting refers to masking your start image such that only a specific part of it gets affected by your prompt.
Setting the Advanced Mode toggle
To access inpainting, you must have advanced mode turned on. The advanced mode toggle is located at the top left (on Desktop) and top of the page (on Mobile) of the studio view.
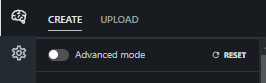
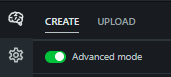
(left image - Advanced mode Off, right image - Advanced mode On)
To set it on, click or tap on the tag next to the words “Advanced mode” and check that it is now green with the toggle to the right. This will open up access to the advanced mode settings, including the advanced prompt editor.
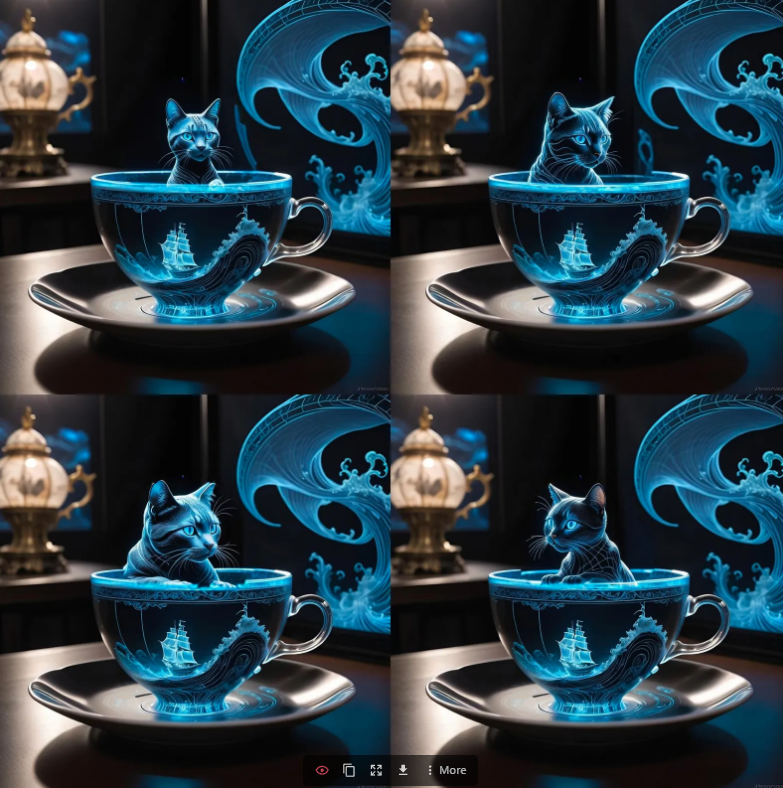
For this example, an image of a holographic teacup and ship will be altered, changing the ship floating on top of the teacup to a cat.
Step 1: Begin by evolving the creation.
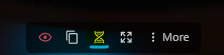
To ready a creation for inpainting from an evolve, find the creation within your gallery and click/tap on the “DNA” Button Icon (underlining added for emphasis) to evolve the source creation:
This will start a new creation, with the following populated/applied:
- The prompt of the original creation
- The settings of the original creation
- The creation’s image result shown at the time you clicked/tapped will be set as the Start Image if the source was a Stable Diffusion creation.
As a reminder, if the source wasn’t Stable Diffusion on NightCafe, you will need to choose a different checkpoint/algorithm. Stable Diffusion 1.5, SDXL 1.0, Flux Schnell and Flux checkpoints are supported.
Step 2: Create a Mask
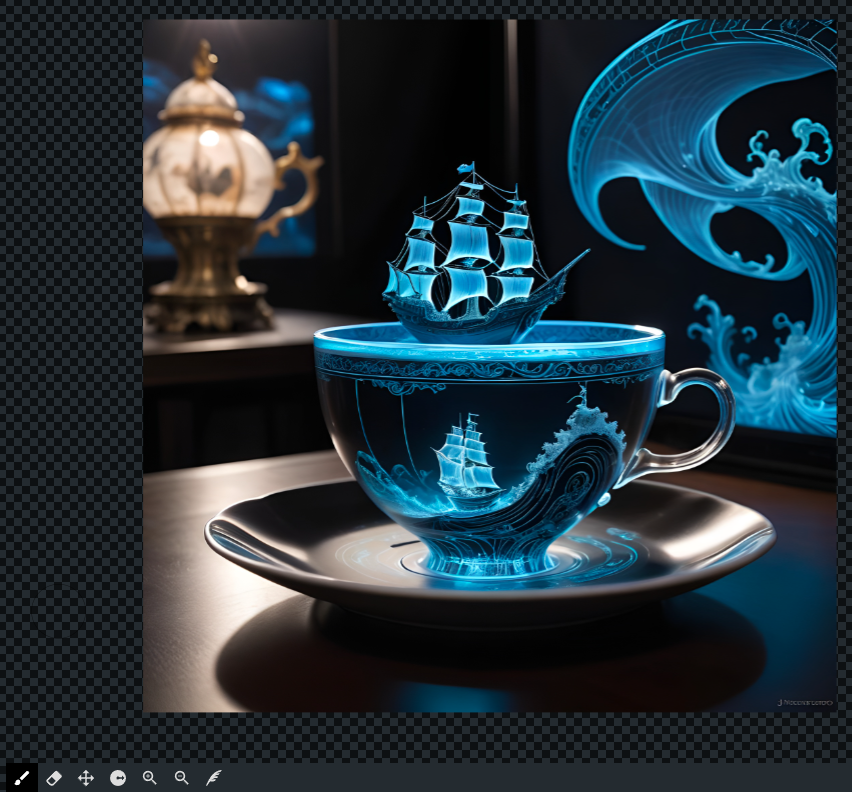
- Paint - add masked sections in RED (just to show where you've masked)
- Eraser - erase what you've masked (this is not to erase parts of the start image)
- Pan - move the image around the screen; can be useful if you're zoomed in
- Brush Size - resize the brush using a slider
- Zoom in - zoom in on the image; helps to mask fine areas
- Zoom out - the opposite; helps to view the whole image and use the larger brush sizes to quickly mask more of the image
- Toggle - show just the masked areas without the image shown; can be toggled back and forth
- Feathered Mask - By default, NightCafe adds feathering to the outer edges of your masked area. This can allow for more blending at those edges. You can toggle this to turn it on or off.
Keyboard Shortcuts
Key Shortcut | Action |
K | Toggle Shortcuts |
Hold Alt | Eraser |
Hold Space | Pan |
Z + Click | Zoom In |
Alt + Z + Click | Zoom Out |
[ | Brush Size - |
] | Brush Size + |
Step 3: Paint the Mask
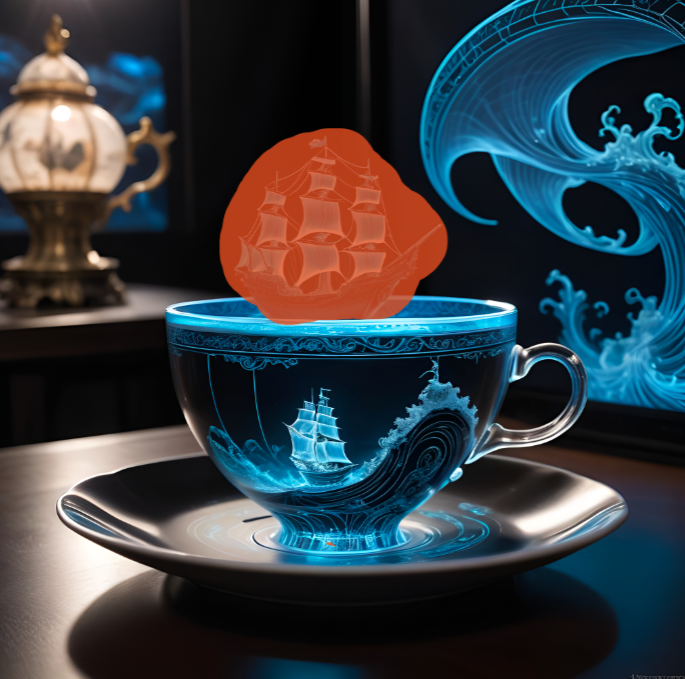
Hints/Tips:
- NightCafe will allow any amount of the image to be inpainted, including having separate areas. Your text prompt will be applied to all areas masked. If you need to have distinct, different changes made you may need to do this in multiple inpainted creations.
- While any shape or amount, including separate sections can be masked, for cohesion having contiguous areas joined may be helpful for the composition.
- It may be better to mask slightly beyond the area to be changed to allow for NightCafe to try to blend your results.
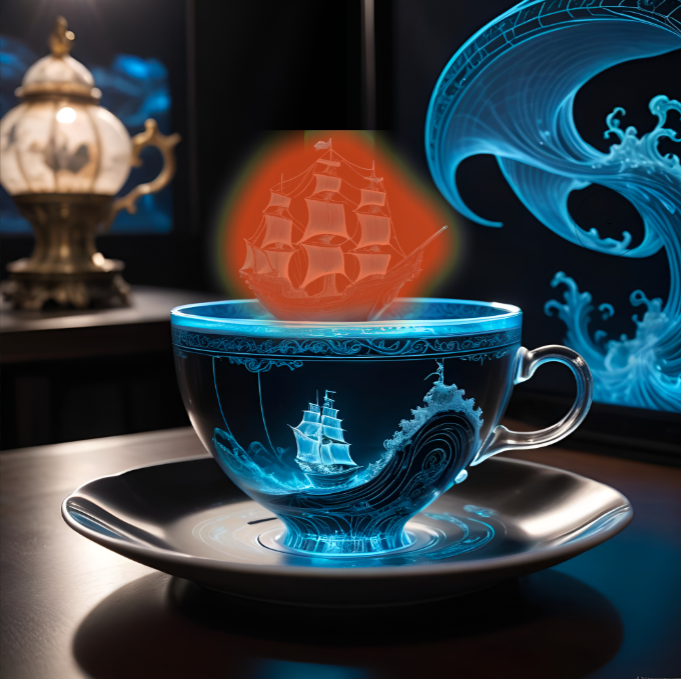
Step 4: Apply the mask.
After clicking the green button, you will be returned to the Start Image Interface. The red masked area will now appear black.
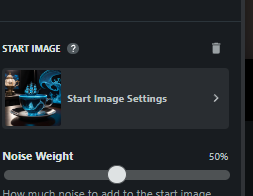
Step 5: Adjust the Noise Weight and other settings (optional)
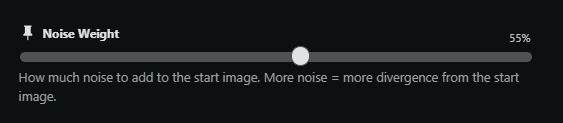
Notes:
This concept applies to using start images on NightCafe regardless of whether you’ve applied a mask for inpainting.
Even at 0% the masked area will change.
In this example we’re replacing the floating ship with a cat. This will be done by changing the portions of the prompt that referenced a ship or other subject features, and replacing them with references to a cat. Ideas/Concepts to consider and utilize:
- The same text-to-image concepts for new creations apply here. In other words, write what you want NightCafe to replace the masks sections with.
- Avoid providing commands like “erase, replace”. NightCafe is already doing this.
- Unless trying to create a mix of styles in the same creation, keep the same artistic modifiers (artist name, styles, mediums) in the prompt.
- Change/Refine the modifiers for the subject.
- Use negative weighted prompts to refine what you don’t want NightCafe to create.
Step 6: Hit Create when you are done - and see what happens!
Related Articles
What is Inpainting in AI and how to use it?
What is Inpainting in AI? Inpainting is a technique of filling in missing regions of images that involves filling in the missing or damaged parts of an image, or removing the undesired object to construct a complete image. However with the power of ...Nano Banana on NightCafe
How to Use the Nano Banana Model on NightCafe Overview Nano Banana (officially Gemini 2.5 Flash Image) is Google’s latest AI image model, now available on NightCafe. It’s known for strong editing accuracy, subject consistency, and high-quality ...Negative Prompts on NightCafe
Original article by creator @Weresl0th. Big thanks from the NightCafe team! What is a Negative Prompt in AI? Negative weighted prompts (also referred to as negative prompts) are a way to instruct the algorithm that you do not want the creation to be ...Introducing Fine-Tuning on NightCafe
Fine-tuning is a feature that offers a more personalized AI experience. This allows you to train a model to understand and recreate specific styles, faces, or objects. How to Get Started with Fine-Tuning Access My Models: PC: Find it in the main menu ...How do I add text to my images on NightCafe?
How do I add text to my images on NightCafe? While NightCafe doesn’t currently offer a manual text tool like Photoshop or Canva, you can add text to your image by including it directly in your prompt. This technique works best when using AI models ...